Most van electrical regret comes from buying parts before doing the maths. The right order is the opposite: work out your daily watt-hours, size the battery to cover them, then size every charging source to refill that battery. Here are the five blocks and how they fit together.
Methodology
1 · The leisure battery — the heart
Your daily watt-hour budget sets the battery. In LiFePO4 you can use nearly the full rated capacity, so a 105Ah (≈1,280Wh) Fogstar Drift covers a modest day; heavy all-electric builds stack several. Lead-acid would need roughly double the rated capacity for the same usable energy, which is why new builds go lithium. Mind the cold-charging limit — below freezing you need a self-heating cell or a battery kept in the warm habitation space.
2 · Charging while you drive — DC-DC, not a relay
A modern Euro 6 van has a smart alternator whose voltage varies, so an old split charge relay barely charges a lithium battery. Fit a DC-DC (battery-to-battery) charger instead — a Sterling Power BB1230 (30A) or Victron Orion XS (50A, 700W) pulls a steady, correctly-staged current. Size it in amps: bigger refills faster but loads the alternator more.
3 · Solar — the daily top-up
Roof panels feed an MPPT charge controller, which extracts more from the array than a cheap PWM unit, especially in dim British light. Size the controller to your panel wattage and charge current. Solar carries three seasons; British winter days are short, so plan a fallback.
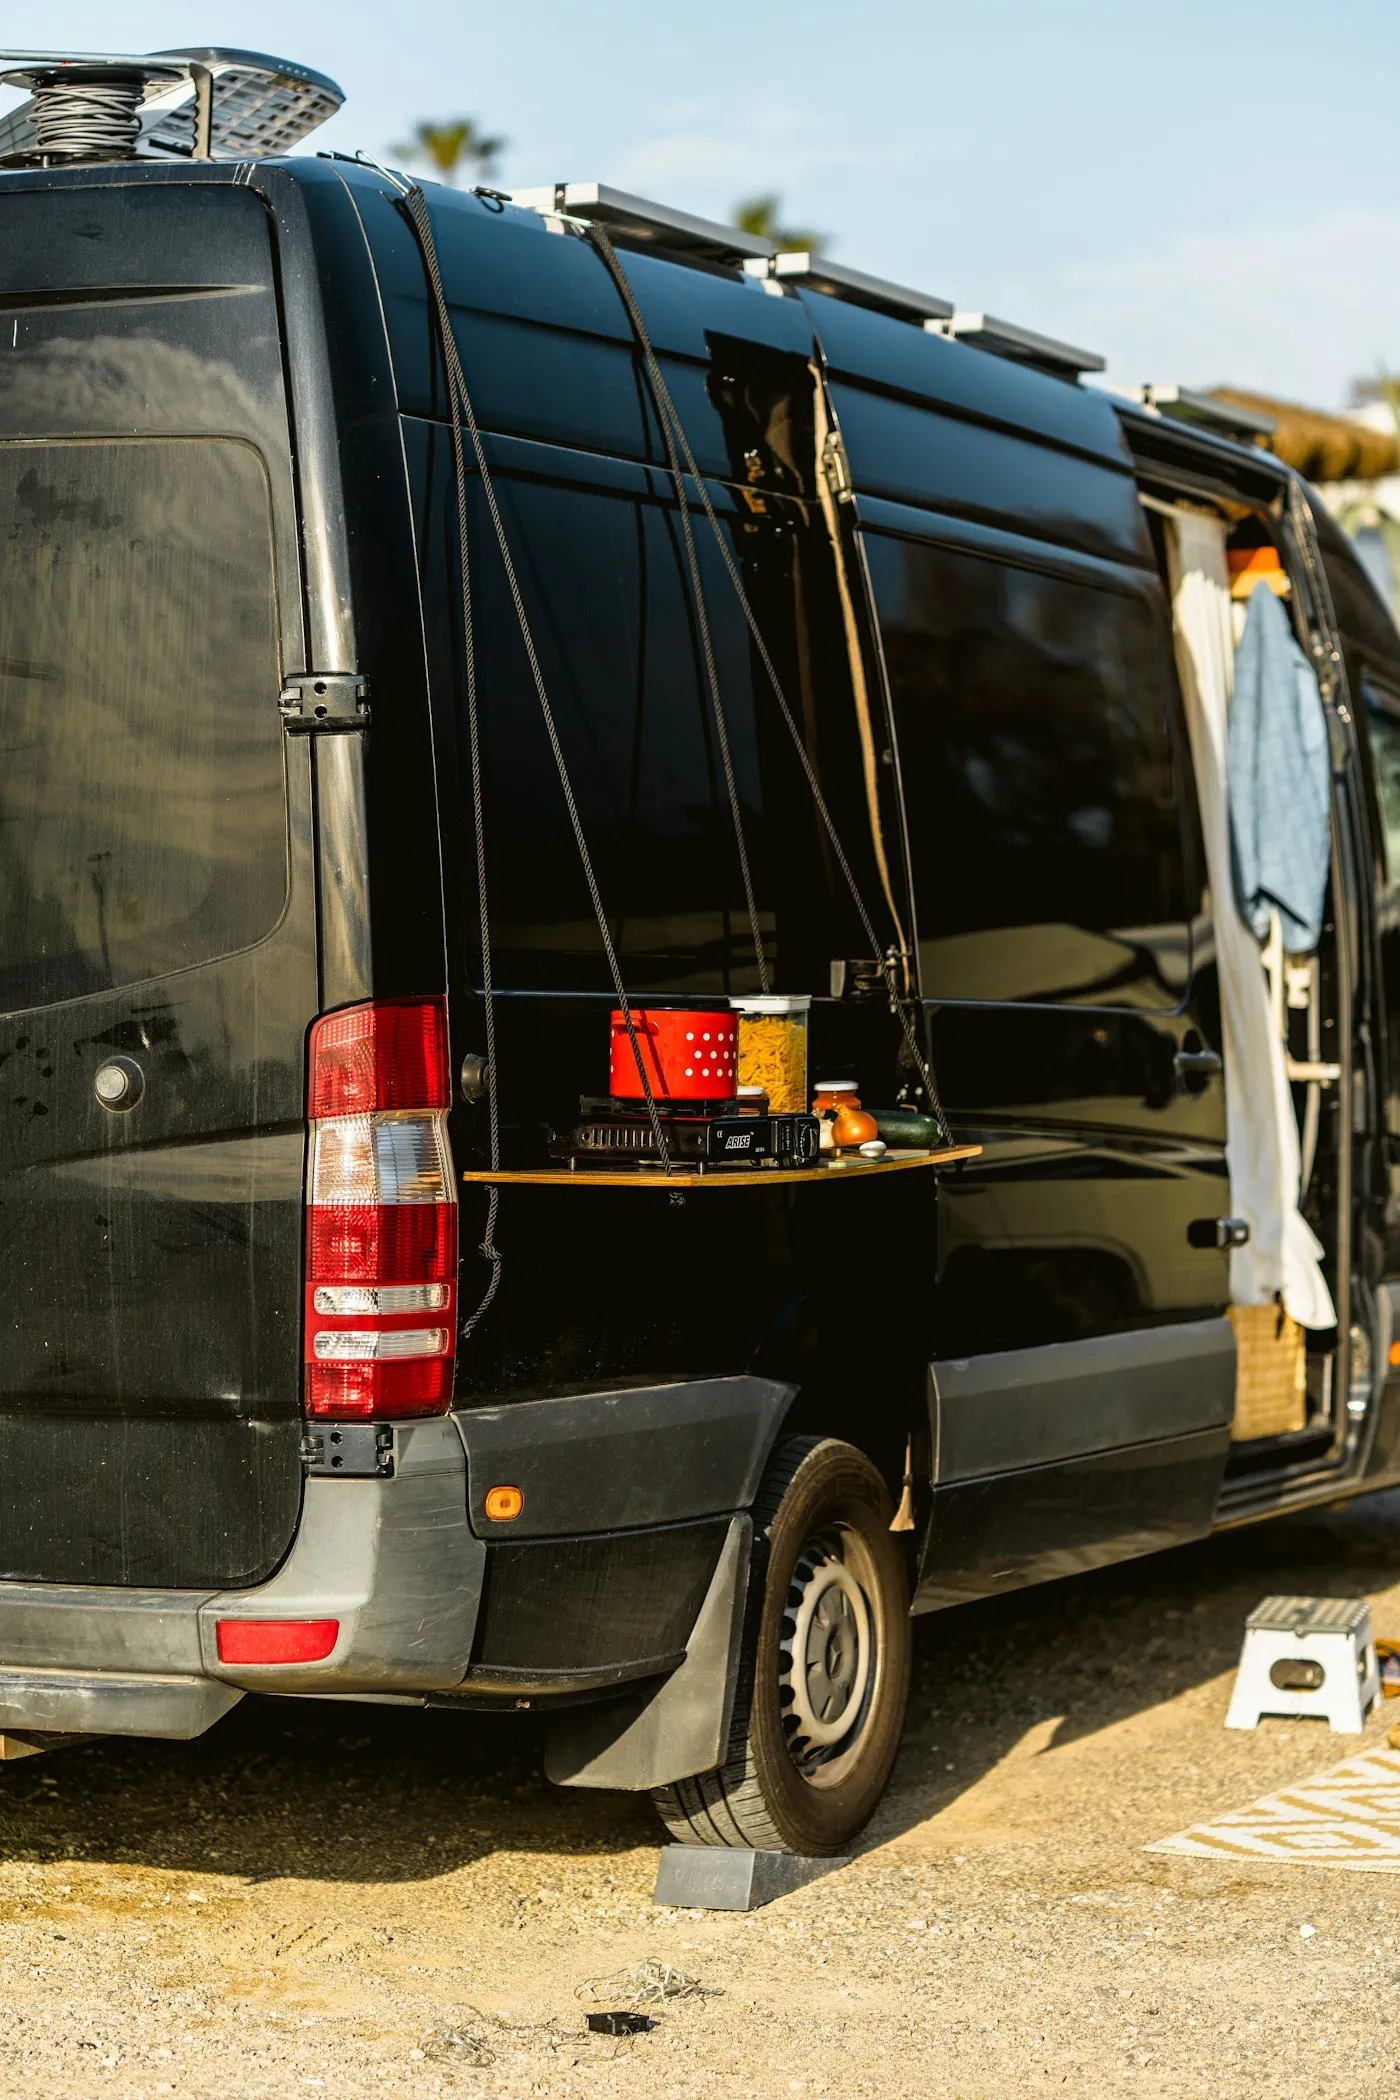
4 · The inverter — making 230V
To run mains appliances you need a pure sine wave inverter sized by continuous watts and surge. Pure sine is non-negotiable for laptops, induction and anything with a motor. Many builders skip a separate inverter entirely by using an all-in-one power station that already contains one.
5 · Hook-up and the gauge
Electric hook-up (EHU) is the winter and emergency fallback: a 230V campsite feed through a blue 16A lead and an RCD. Finally, fit a battery monitor with a shunt — it counts every amp in and out and is the only honest state-of-charge reading on LiFePO4. Without it you run blind.
Key takeaways
- Size from daily watt-hours first; the battery and chargers follow.
- LiFePO4 gives nearly full usable capacity — lead-acid needs ~double.
- Euro 6 vans need a DC-DC charger, not a split charge relay.
- An MPPT controller beats PWM in low light; pure sine inverter for sensitive loads.
- A shunt battery monitor is the one gauge you can trust.